
Evidence of mold
Floor joists on the underside of the home

Crews at work in the moldy crawl space
Aaron Smith positions CleanSpace where it needs to be installed
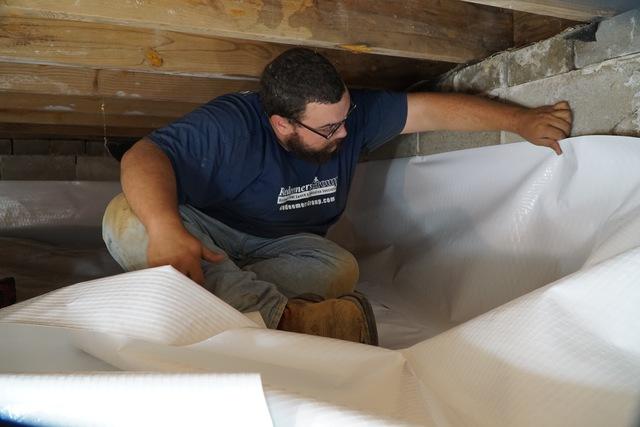
CleanSpace being installed up the walls
Crews work to carefully secure the CleanSpace up the side walls.
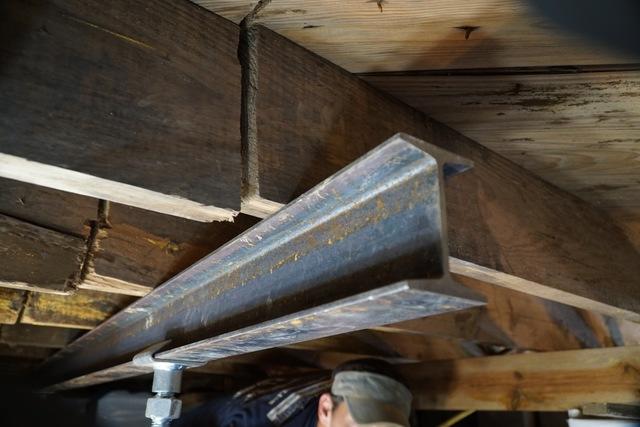
Steel eye beams and Smart Jacks were used to stabilize this home
Team members work to both stabilize the sagging floors and encapsulate the crawlspace.

Mold and water damage
Various types of mold can be seen along with signs of water damage on the underside of the home.

The beams and joists in a weakened state under the home
Mold and water had weakened the underside of the home.

The beams and joists in a weakened state under the home
Mold and water had weakened the underside of the home.

A rainbow of mold covering the floor joists of the home.
The boards with yellow mold are the floor joists running on the underside of the home and supporting the weight of the house.
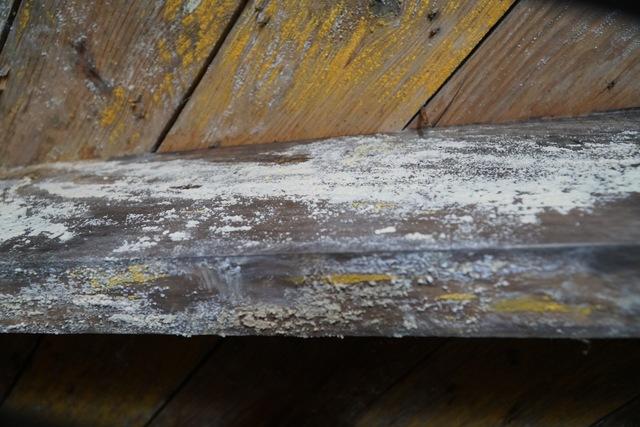
Obvious mold growth
All of the joists under the home were covered in various types of mold at different stages of growth.

Mold covered all of the floor joists and underside of the home.
The underside of the home was a rainbow of mold. Different stages of growth, active vs. dormant, and different types of mold account for the variations in color.

Team members work to both stabilize the sagging floors and encapsulate the crawlspace.
Steel eye beams and Smart Jacks were used to stabilize this home.

Aaron Smith preps pieces of CleanSpace to take in to the crawl space
Crews work to get materials ready for use in the crawlspace.

Aaron Smith works to encapsulate around the structural pillars
Team members encapsulate around the structural pillars under the home.

Dalton Cole secures the CleanSpace up the side walls
Dalton Cole works to secure the CleanSpace up the side walls around the perimeter of the home.

A competitor's leaning structural support
During inspection of the home, our Specialist found the floors to be sagging. On the underside in the crawl space, we found a competitor had previously used their product to unsuccessfully repair the structural issues. Our team left it in place and encapsulated around it. The structural issues were addressed with our SmartJacks placed in a different area.

Daryl Brown preps pieces of CleanSpace to take in to the crawl space
Crew members work to get materials ready for use in the crawlspace.

Crawl space entry
Crews begin to load materials through the crawl space opening in order to finish the encapsulation process.
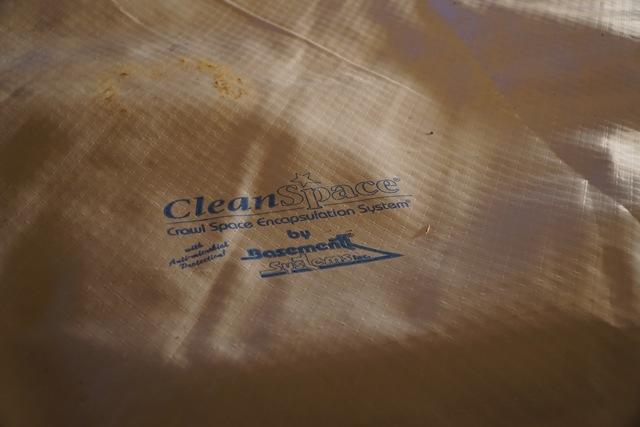
CleanSpace
CleanSpace encapsulation

Crews work in low clearance.
Team members work to both stabilize the sagging floors and encapsulate the crawlspace.
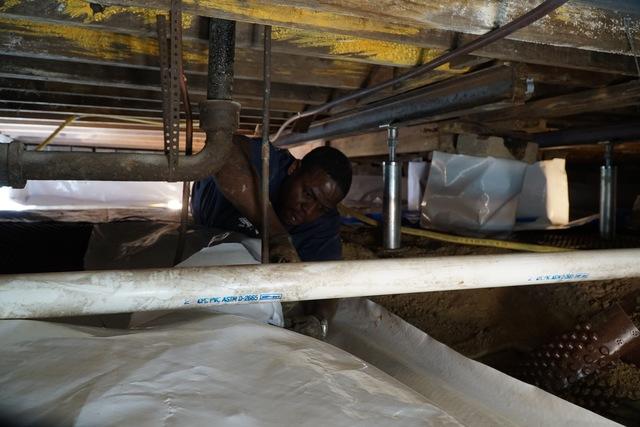
Team members maneuver around obstacles with low clearance.
Daryl Brown works around all the obstacles to continue the encapsulation process.
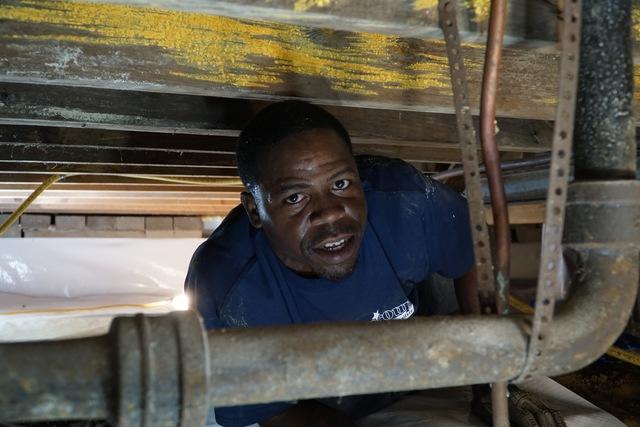
Daryl shoots a smile as he takes a breather from belly crawling
Team member Daryl Brown says cheese.
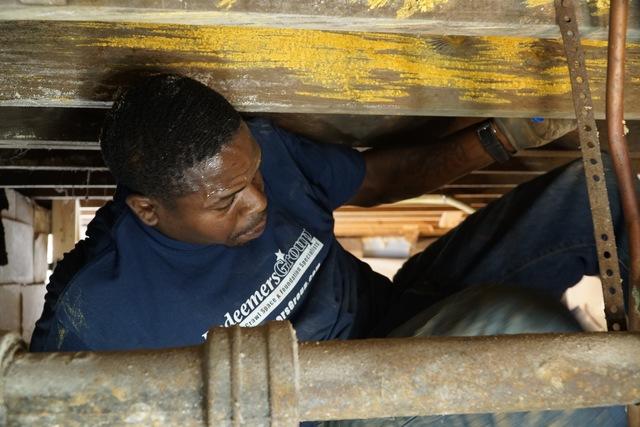
Daryl Brown maneuvers through low clearance
Team members had to maneuver in low clearance and try and avoid the mold that was covering all of the floor joists.

Crew leader, Aaron Smith, at work
Aaron Smith led his team to encapsulate this very moldy crawl space and stabilize the sagging floors.
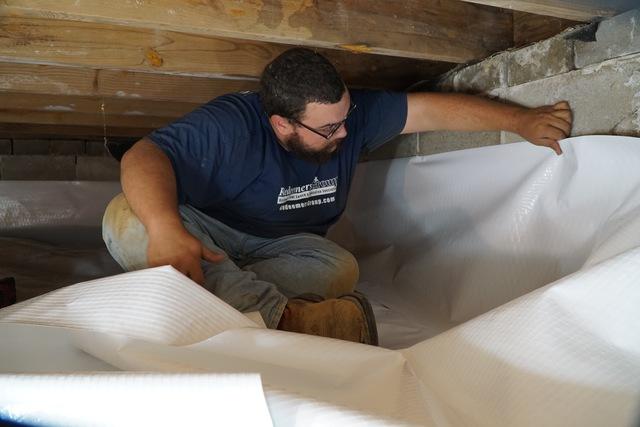
Dalton Cole takes the CleanSpace up the side walls
Dalton Cole takes the CleanSpace up the side walls

Dalton Cole at work
Dalton and his team members worked to fully encapsulate this moldy crawlspace.
